
Renovating your bathroom enhances your home’s value, beauty, and usability. While the bathroom may be one of your home’s smallest rooms, remodeling has unique challenges. Fortunately, careful planning helps you undertake its stages without undue pressure and hassles.
But what are the final steps of remodeling your bathroom? This post discusses the 12 steps of remodeling your bathroom. It shows you what steps your contractor takes, and it’s not a DIY guide. Read on to learn more.
1. Plan
Someone correctly said that failing to plan is planning to fail. Early and adequate planning is necessary for your bathroom renovation’s success. Whether you want to go the DIY or contractor way, you still need to plan for everything. This stage lets you know how the process goes, what you need, possible challenges and solutions, etc. Your planning process will entail the following:
- Determining your remodel’s design and style;
- Interviewing and hiring a contractor if you don’t take the DIY route;
- Buying the necessary raw materials;
- Drawing and sticking to a budget that covers items like:
- Demolitions
- Waste disposal
- Plumbing
- Electricals
- Lighting
- Waterproofing
- Tiling
- Plastering
- Painting
- Fixtures, like tapware, basins, showers, mirrors, vanities
- Certificates of compliance and approvals based on your local government requirements
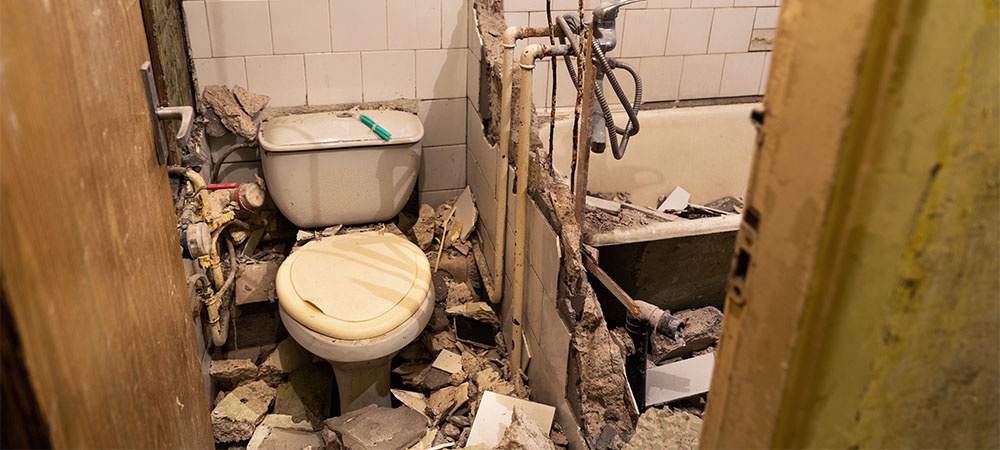
2. Demolishing the Old Bathroom
Demolishing the old bathroom follows successful planning. This step highlights the importance of removing all the materials that shouldn’t remain in the current bathroom. You must remove all the items alongside the surfaces you wish to replace. These include bathtubs/showers, flooring, vanities, lighting, and mirrors. Demolition can be messy, but it’s still necessary.
3. Adjust the Plumbing
Next, adjust your bathroom’s plumbing by installing plumbing elements like a toilet flange and a new shower pan. You can add a waterline extension and modify any plumbing necessary for adding a second sink.
4. Rework Electrical Wiring
You have opened your walls to make it easy to rework your bathroom’s electrical wiring more comfortably. You may replace your 15-amp wiring with a 20-amp circuit. This upgrade helps you utilize electrical gadgets like hair dryers more efficiently.
Installing or relocating more outlets and light switches is necessary. For example, you may install GFCI receptacles if your outlets are near water to help things go along more conveniently.
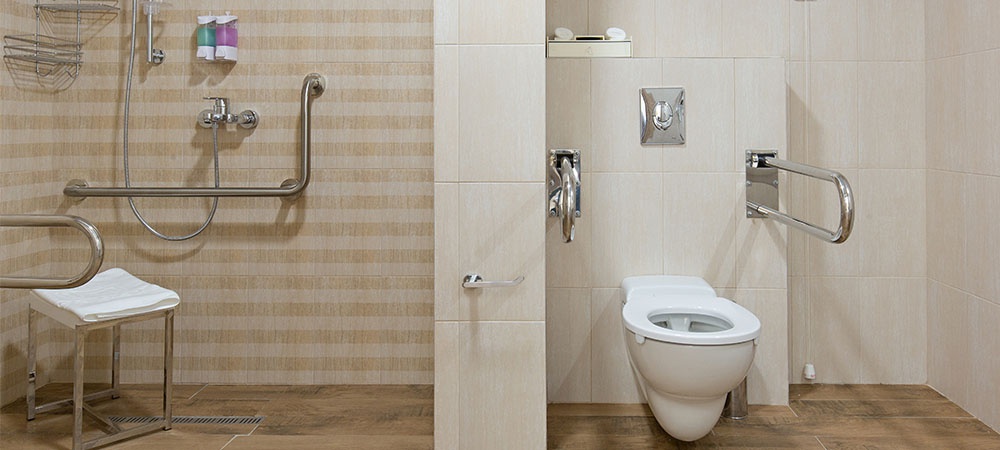
5. Install Blocking for Grab Bars
Open bathroom walls also allow you to add blocking between wall studs easily. This stage lets you add more support for your grab bars. But if you don’t want to include them in this process, going for alternatives is ideal. You may decide to have solid material for securing your bathroom’s safety features at the shower stall, tub, and toilet. This way, you save time in the remaining processes.
6. Close the Walls
You are done with your plumbing, adding grab bars, and electrical work; it’s time to close your walls. During the completion process, you need to install a cement board and vapour barriers in the damp areas of the tub and shower stall. This board resists moisture for your wall tiles. You may also go for drywall for your bathroom’s other walls.
7. Start Painting
Your wall work is complete; it’s time to begin painting the wall and close this chapter. Choosing interior paint with a satin or semi-gloss finish that withstands humidity is the best option. Moreover, paint your walls before installing tiles, vanity, tubs, sinks, toilets, and other accessories. Otherwise, you might mess it up with paint splashes.
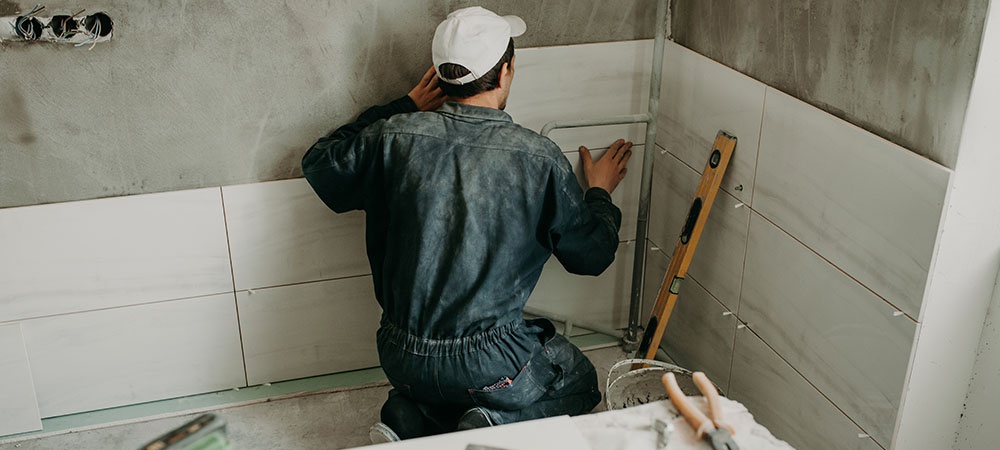
8. Install the Tiles
Next, the time has come to install your bathroom tiles. First, you start tiling your bathroom from the shower walls or bathtub enclosures beforehand and afterward, move to the floor. You may also use grout for both of them but caulk the corners. Grout comes in various colours that help you boost your bathroom’s aesthetics.
9. Put Up the Shower Door
After completing your bathroom floor and wall tiling work, move on and deal with other issues. It’s time to put up the track, shower curtain rod, or your shower enclosure’s door. If you must install a new shower door, choose the best one that goes well with your renovated bathroom’s overall outlook.
10. Fix Lighting Fixtures and Exhaust Fans
Start working on your lighting fixtures and exhaust fans. Your remodeled bathroom deserves the best lighting. Your new lighting should be soft but bright enough to light up the room. It should also light directly over the sink to offer the proper visibility when getting ready. You can install wall and ceiling lights for optimal functionality.
Besides lighting works, you should install other electrical appliances like exhaust fans. These fans keep your bathroom’s air hygienic and clean.
11. Install the Sink and Other Vanities
This remodelling step requires you to install a bathroom sink and other vanities. You should get the sink and other vanities into their positions and hook up the plumbing. Installing these items isn’t hard if you have the skills and time to do it. However, connecting the plumbing to these fixtures requires hiring a professional to avoid messy future problems.
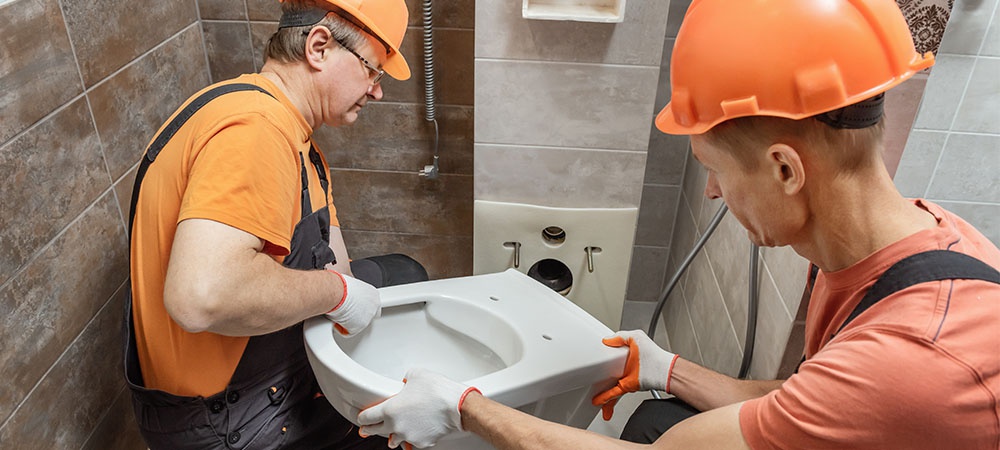
12. Install the Toilet
Lastly, you have to install your renovated bathroom’s toilet seat. This step is one of the easiest to undertake in a remodelling project. You can follow the seat’s installation guidelines to fix it. The challenge, however, comes in when connecting it to the rest of the bathroom’s plumbing system. The chances of getting it wrong here are high and might have disastrous effects in the future. So, allowing a professional to do the whole job is safer for you and your family.
Closing Remarks on Bathroom Remodeling
Bathroom renovation is an exciting process that also has its challenges. However, timely and adequate planning helps you smooth the entire process. We discussed the twelve essential steps of renovating your bathroom. Our team recommends using these valuable insights to help you get the best value for your money.
Do you have a soon-coming bathroom renovation project and need help undertaking it? Act today and contact us for a free consultation and estimate.

